 Back
Back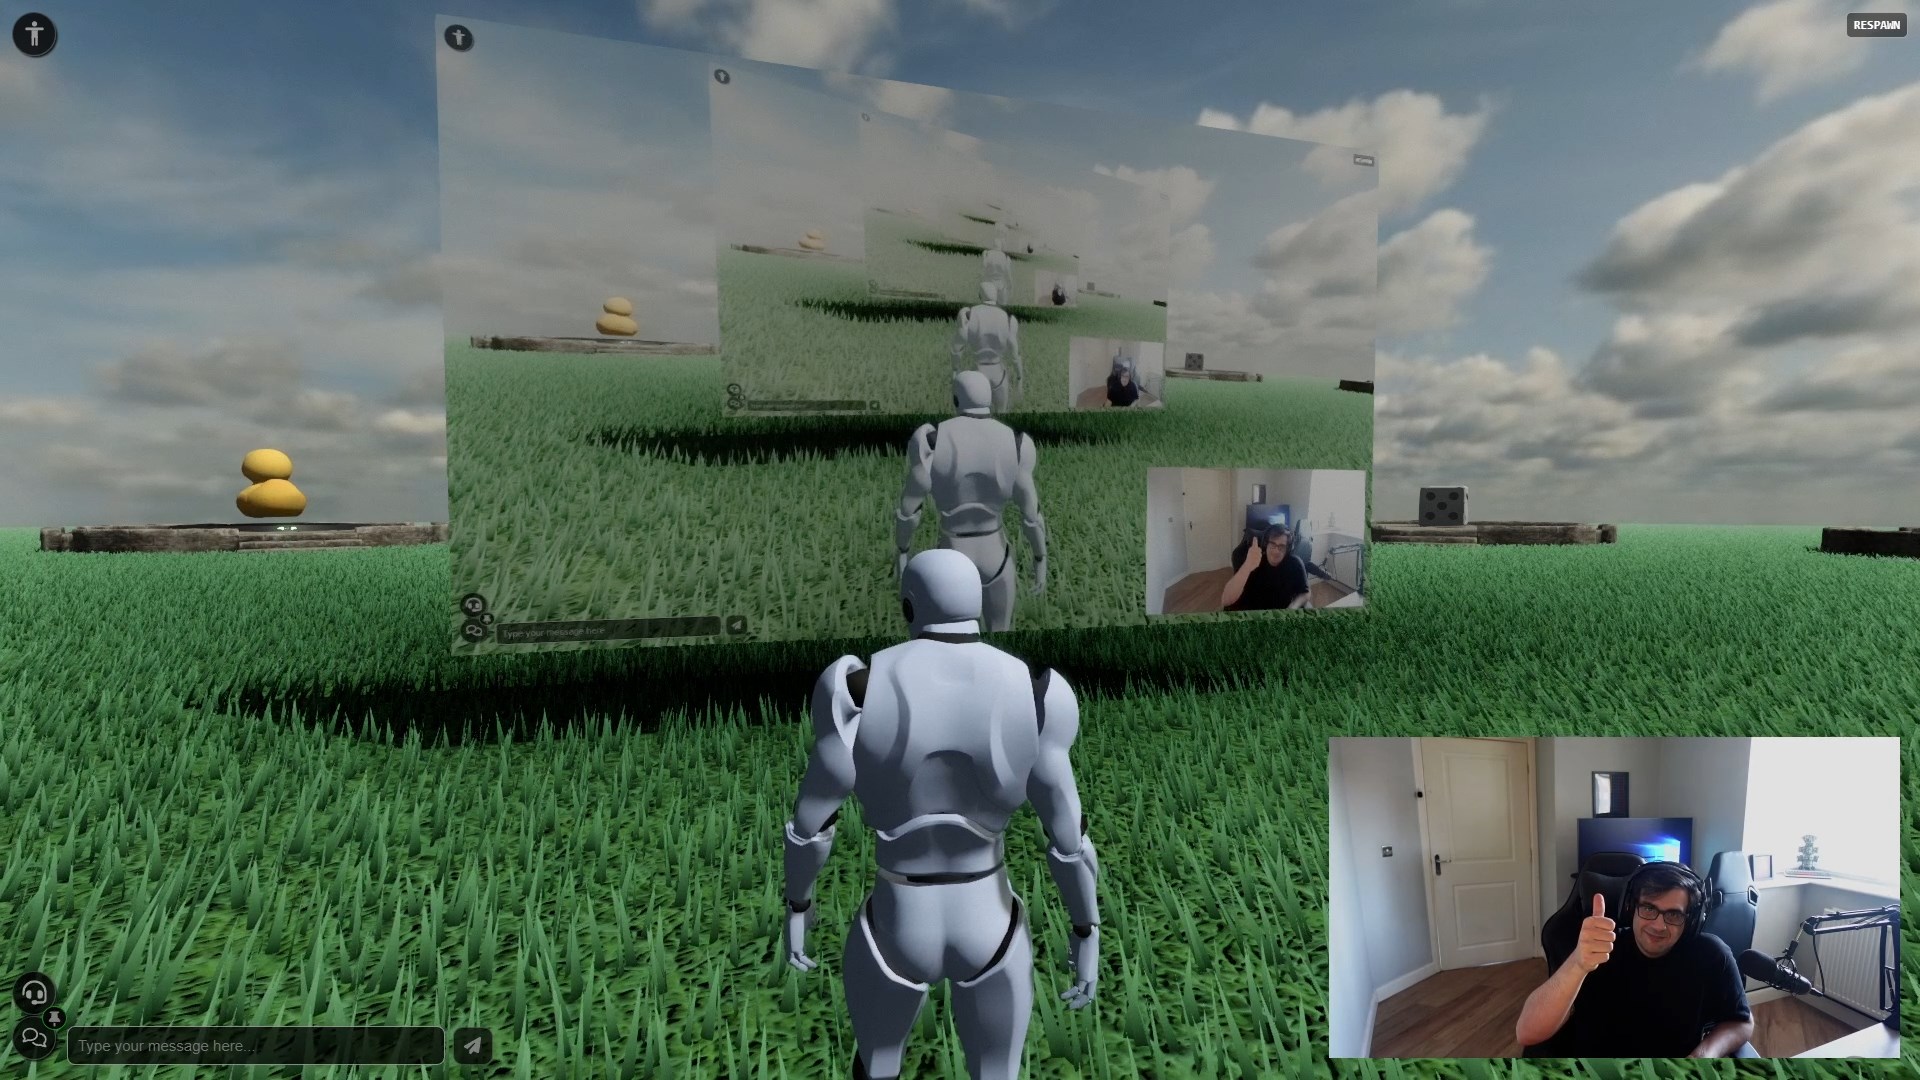
Live Streaming to the Metaverse
Marco Gomez - 2024-11-04
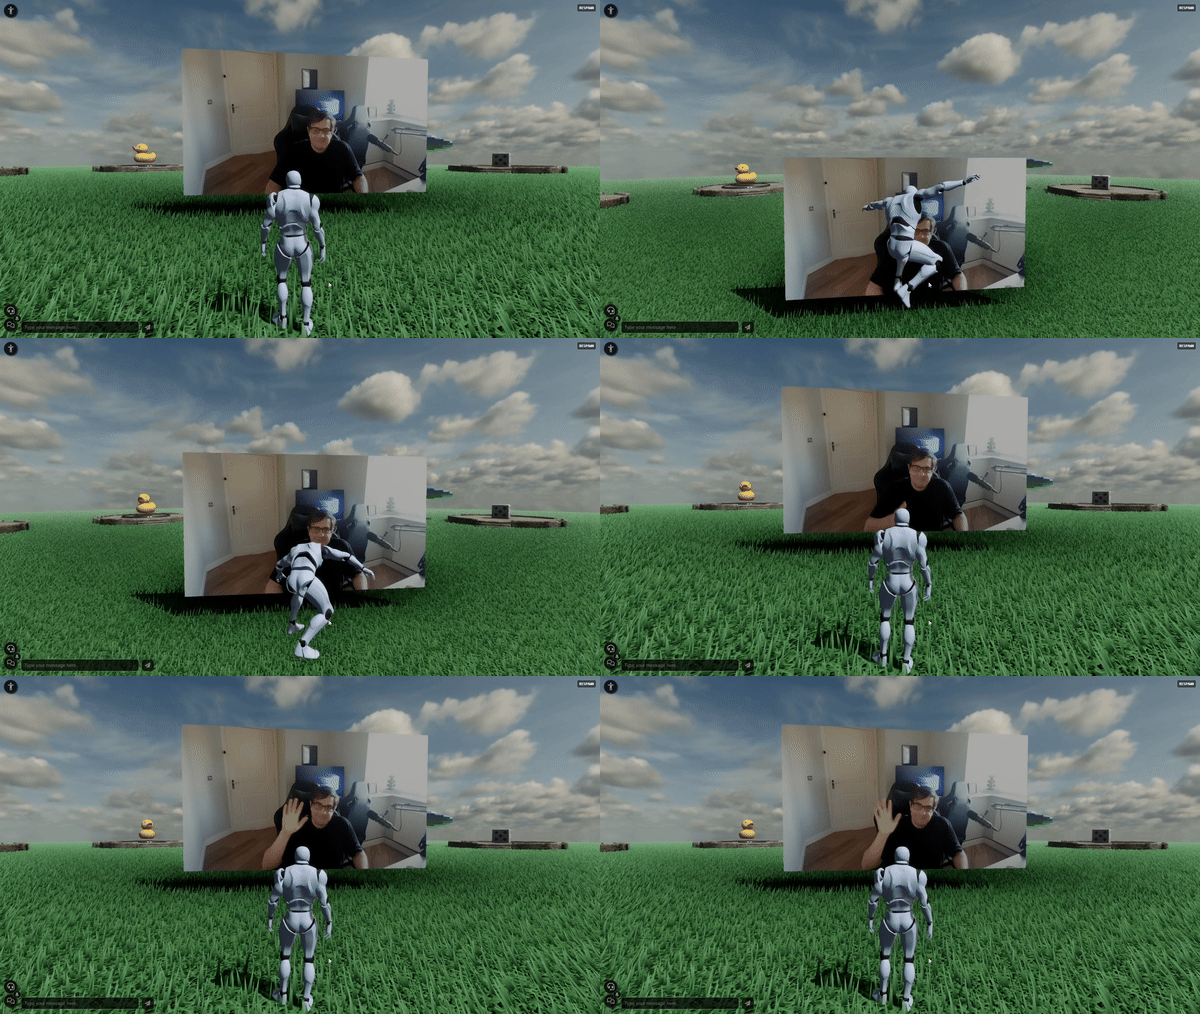
One of the great features of MML is how seamless and easy it is to create multi-user immersive experiences with content that is synchronized for all the participants. That includes audio, video for watch-together parties, and even live-stream events.
This guide will illustrate how you can easily leverage the flexibility of the m-video MML tag, and the Stream service offered by CloudFlare, to set up a low-cost live-stream event in your Metaverse powered by MML, in less than 10 minutes.
Sign up for a Cloudflare Stream account
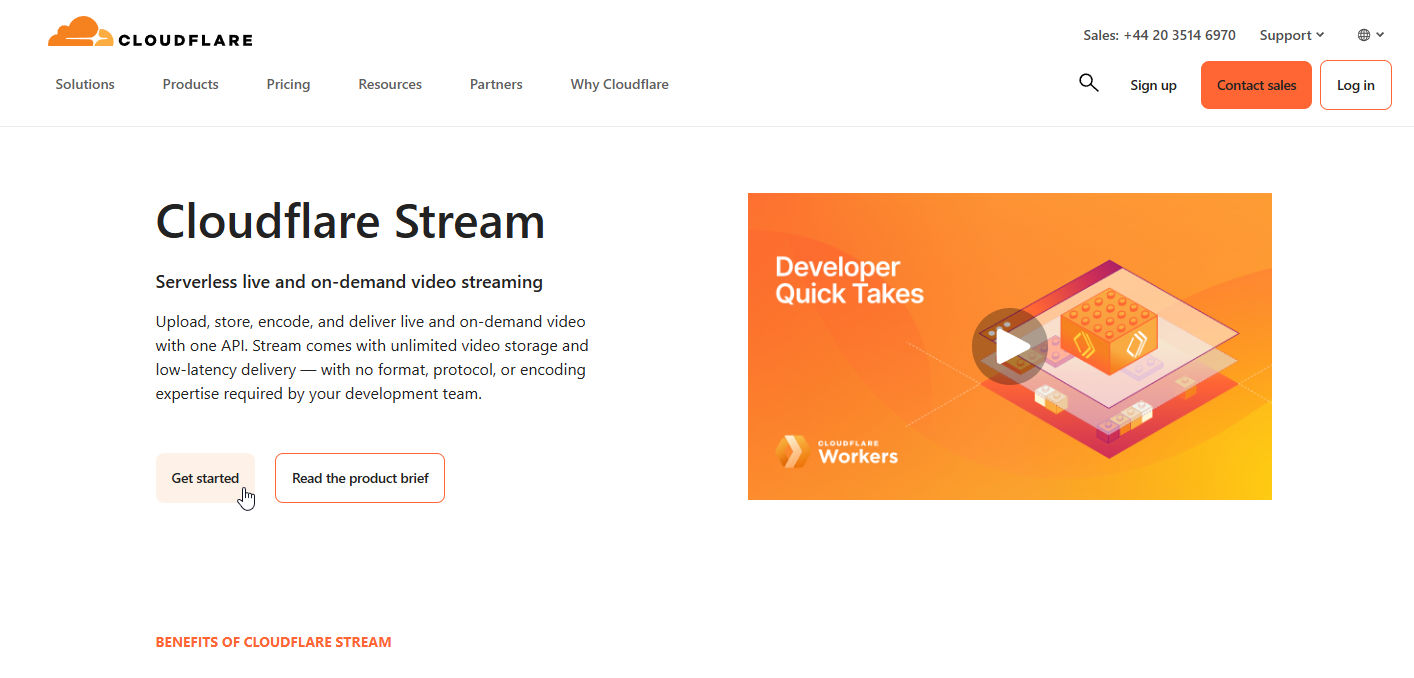
Click [here] to access the Cloudflare Stream service page, and click on Get Started to create your account if you don't have one. You will be asked to provide your login information, and once you confirm your Email address, your account will be good to go.
Pick a Cloudflare Stream plan
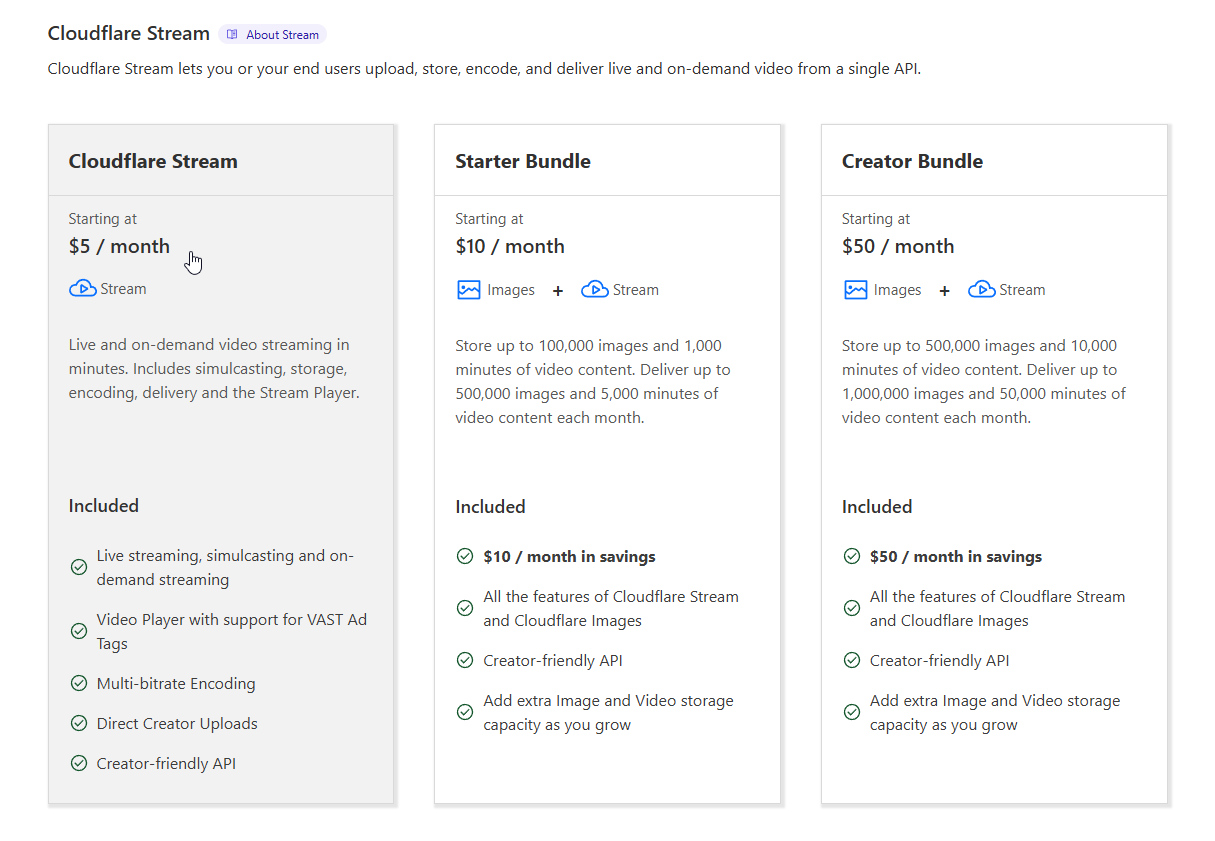
The Cloudflare Stream service pricing system works based on the number of minutes of video delivered to your live event (minutes streamed * number of participants). That means the plan you pick here won't matter too much if you're only interested in the real-time live-streaming capabilities. The plans vary according to your interest in storing videos to play them back later, but the $5 / month plan will serve well for the live events.
Create your first Live Input
Once you pick a plan, you'll be free to access your Cloudflare Stream dashboard, and there you can create your first Live Input. A Live Input is an ingestion point that will receive your WHIP WebRTC stream (which can be easily streamed with OBS - explained later on in this post).
If you're not there yet after picking your plan, you can access the Stream / Live Inputs dashboard by scrolling down in the left panel on your Cloudflare Dashboard.
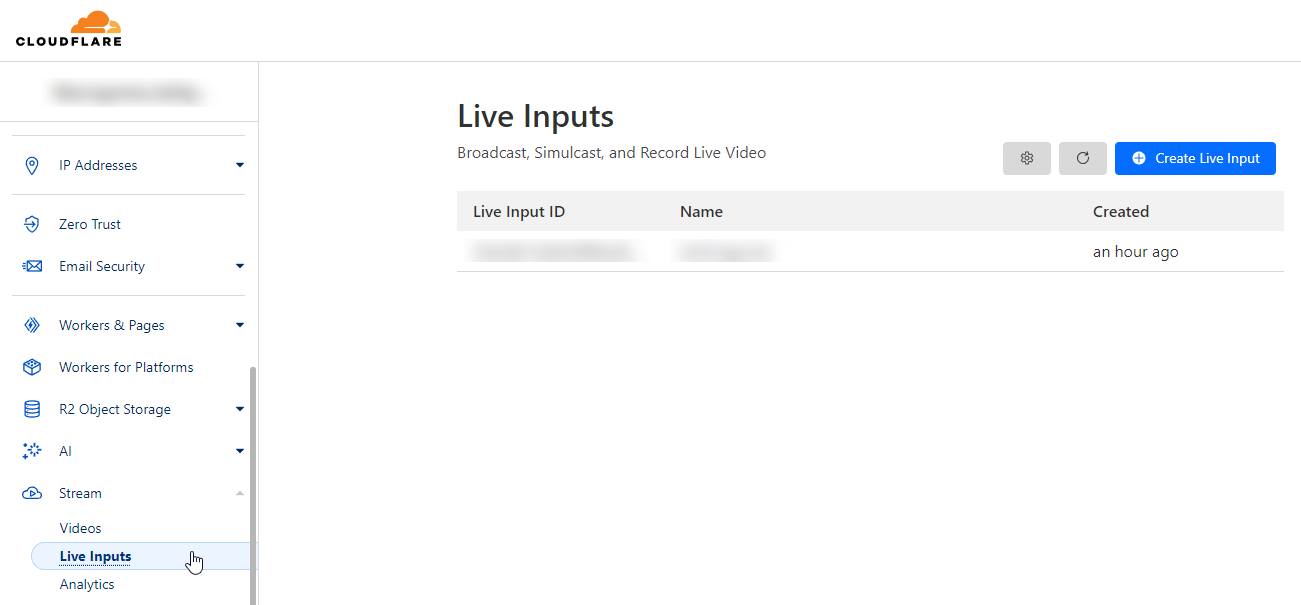
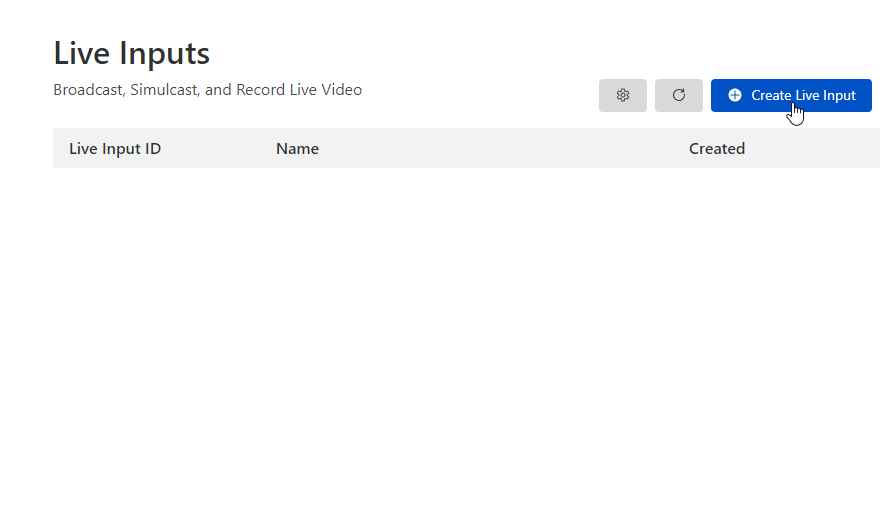
Once there, you just need to click on Create Live Input.
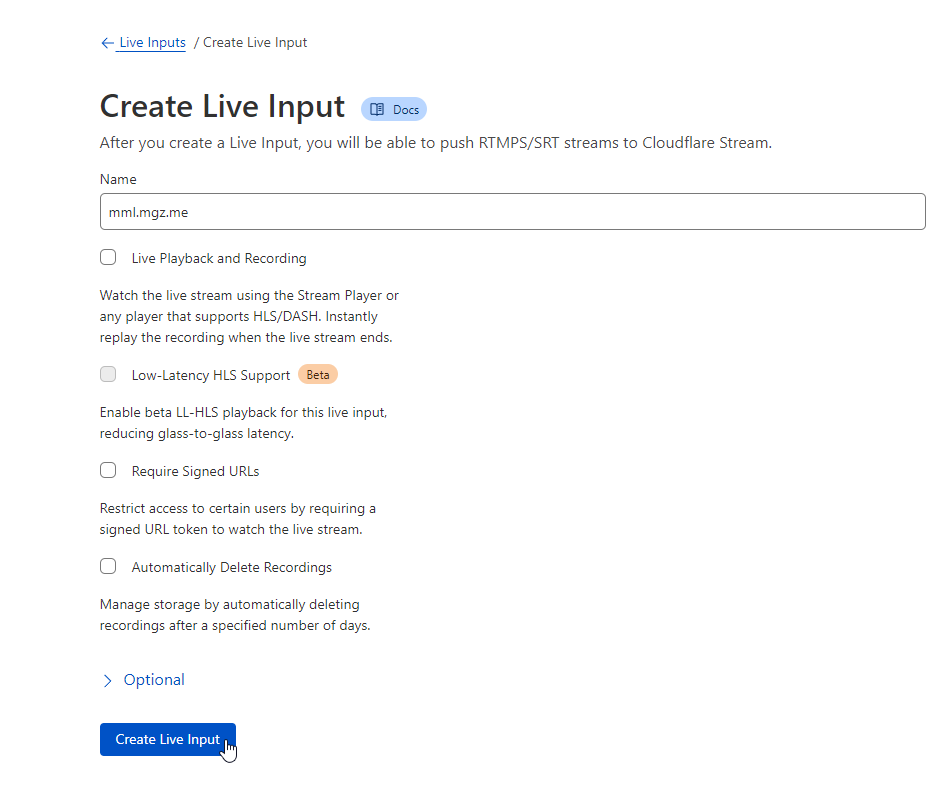
That will lead you to the Create Live Input form, where you can give your Live Input any name you want. You may leave all the checkboxes unchecked as in the picture below, and click Create Live Input to complete the process.
Configure your Live Input
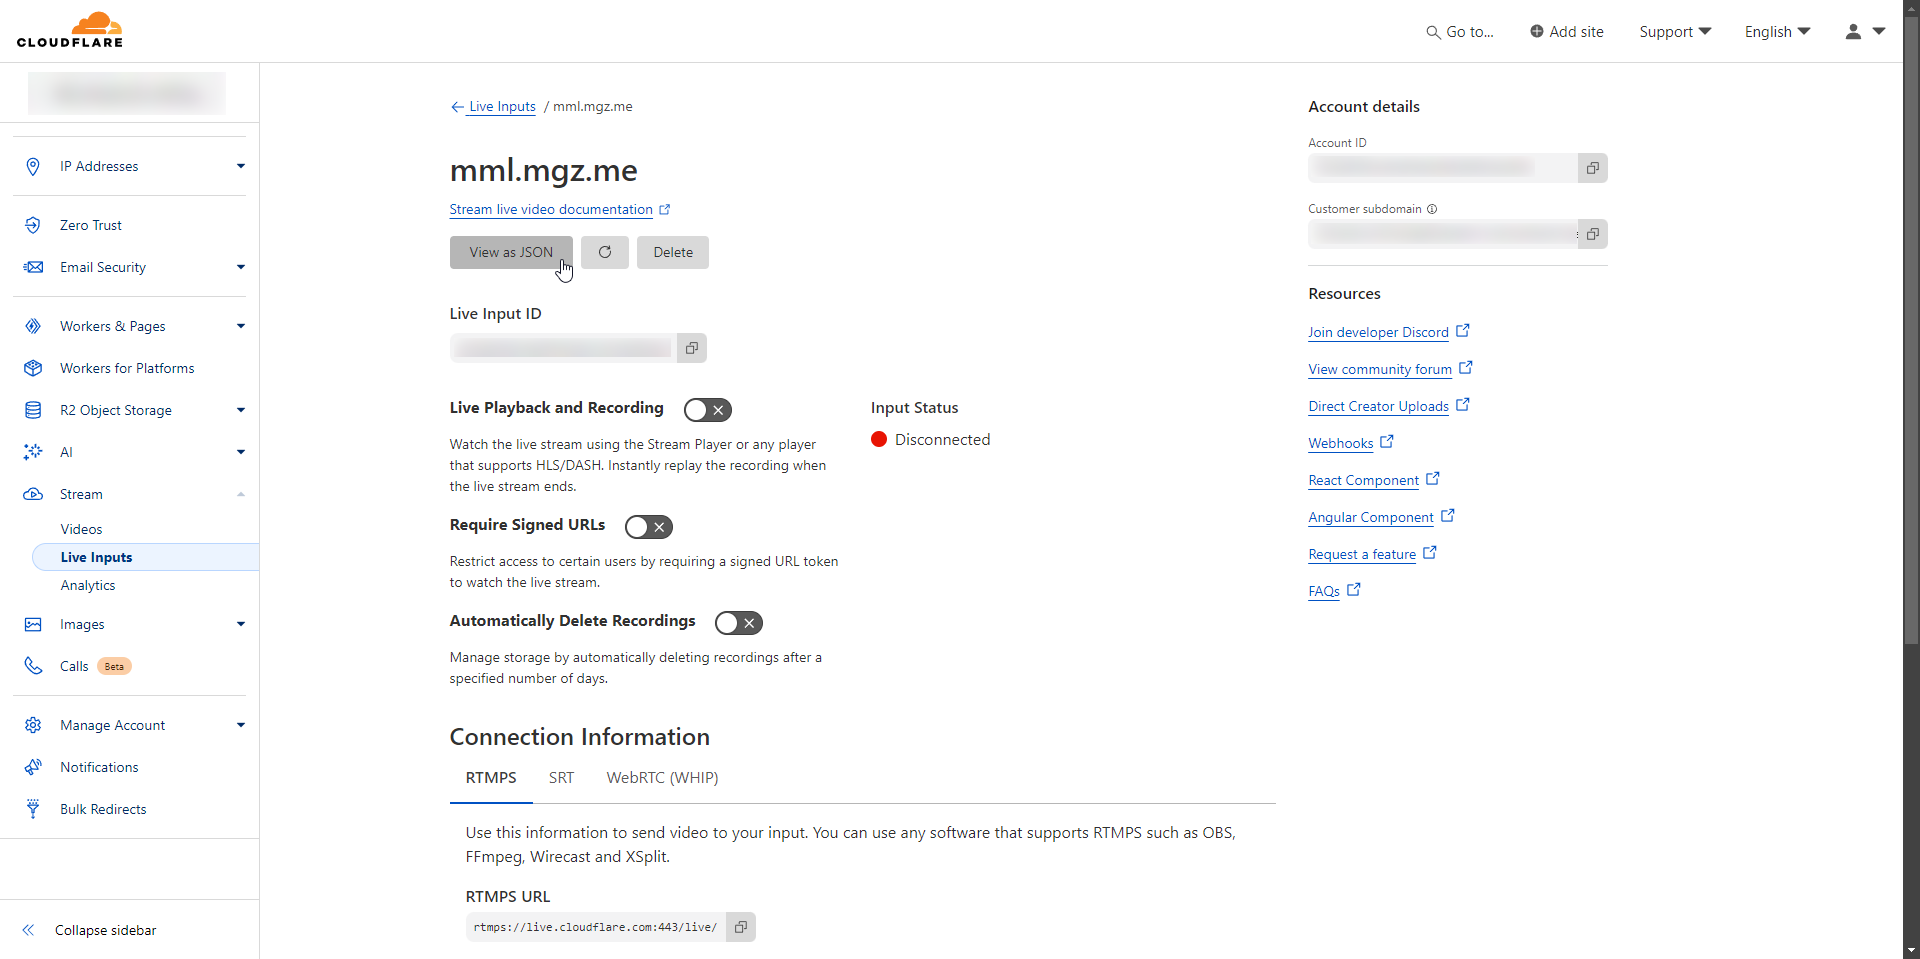
Once your Live Input is created, you'll have access to its settings page, and once there, you can click on View as JSON to view the JSON object with all the information you'll need to configure your streaming software (OBS in the case of this particular tutorial), and also to use with the m-video MML tag inside your experience.
The JSON object of your Live Input will look like the one below. Please be careful not leave this page open once you start streaming, as this JSON object contains sensitive information necessary for anyone to stream on your account.
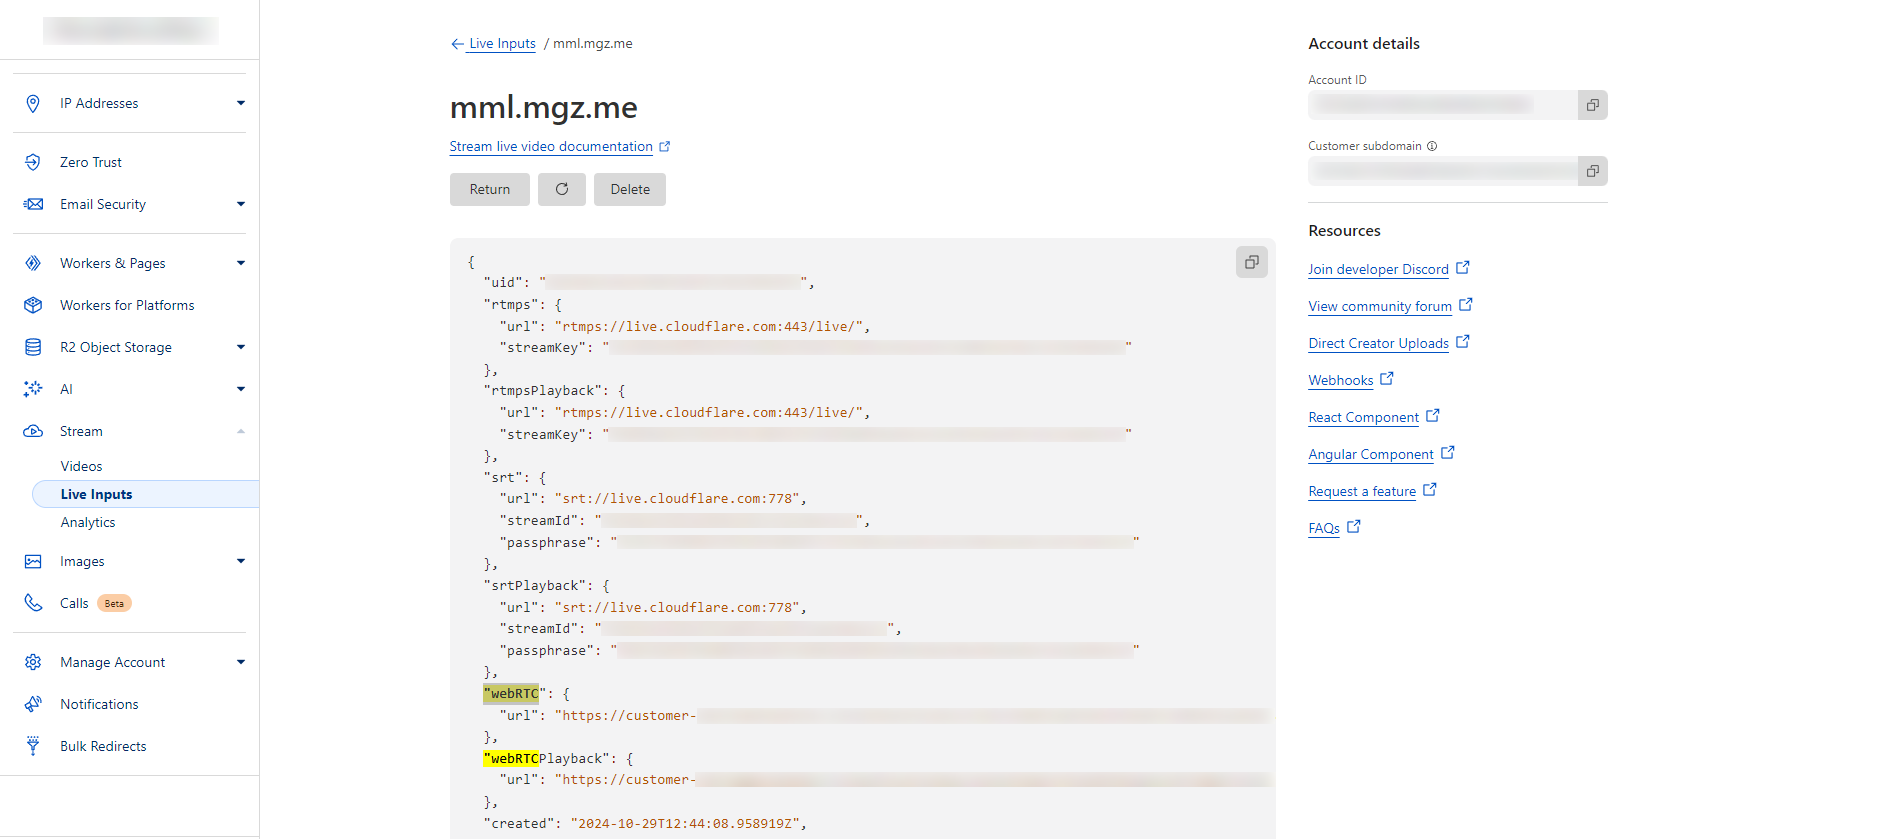
The properties you're interested in such JSON data are the webRTC url and the webRTCPlayback url. The webRTC url is the URL you'll configure in your broadcast software as the endpoint that will ingest your stream, while the webRTCPlayback url is the one you'll use as the src attribute on the m-video tag you'll add to your MML document, to serve as your live-stream screen inside the experience.
Configure your Streaming Software (OBS)
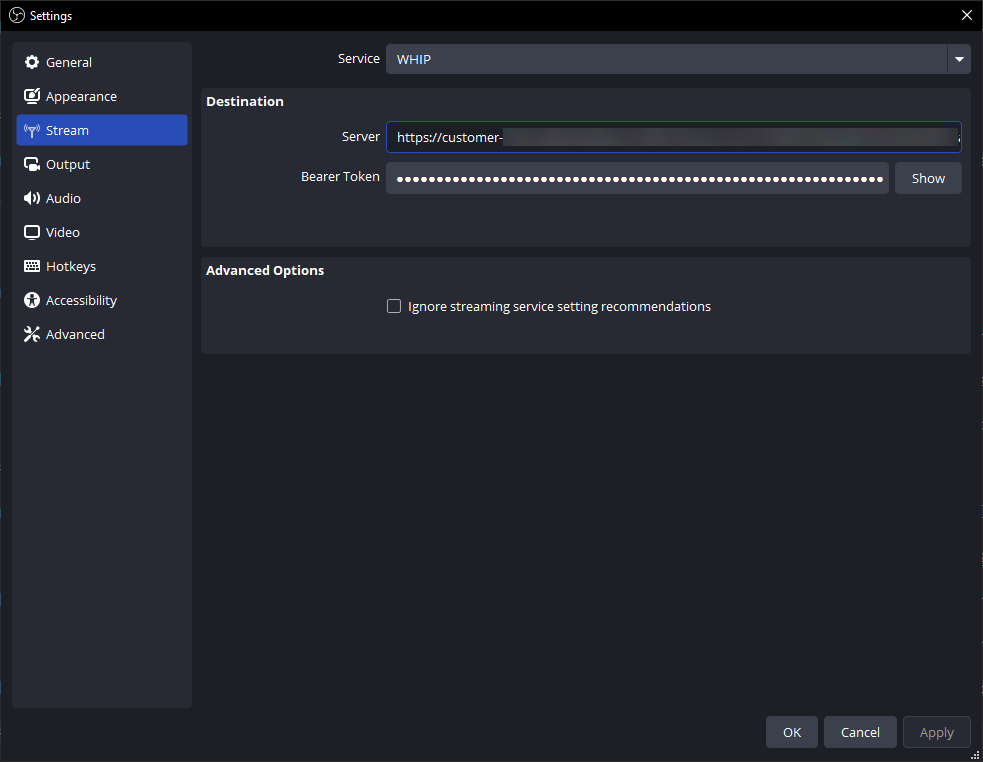
On OBS, you will go to File -> Settings -> Stream, and you'll select WHIP as the Service to be used. That will configure your OBS to stream WebRTC to your Cloudflare Stream account.
Notes:
- Please keep in mind that streaming with
WHIPwas added to OBS Studio 30.0, so outdated versions may still not have this available. If that's your case, please update your OBS. - If you're using Linux, at the time I'm writing this blog post, OBS with support to WHIP is only available on the OBS installed through
Flatpack
Once you select WHIP as the Service OBS will show you a prompt warning that your Audio Encoder must be changed to FFmpeg Opus as it's the necessary audio codec to stream WebRTC with OBS. Just authorize OBS to make that change for you by pressing OK.
-
In the
Serverfield, you will paste thewebRTCurlyou saw in yourLive InputJSONobject. -
In the
Bearer Tokenfield, you will need to extract a small part of the very same URL, that lives between...cloudflarestream.com/and/webRTC...as in the example below.
Let's say your webRTC url is:
https://customer-aaa.cloudflarestream.com/0123456789abcdefghijklmnopqrstuvwxyz/webRTC/publish
In this case, your Bearer Token will be:
0123456789abcdefghijklmnopqrstuvwxyz
Your OBS Stream settings will look like this:
Still in the Settings panel, you will need to configure your Output settings to adjust the video codec necessary to stream using the WHIP Service you just configured.
The ideal Output settings can be seen in the screenshot below, but you may try to adjust the Bitrate to a lower value if you want to save bandwidth at the cost of reducing video quality.
ATTENTION: the last field of this form (the x264 Options (separated by space)) is a very important field, and you must fill it with bframes=0 to prevent your stream from being choppy.
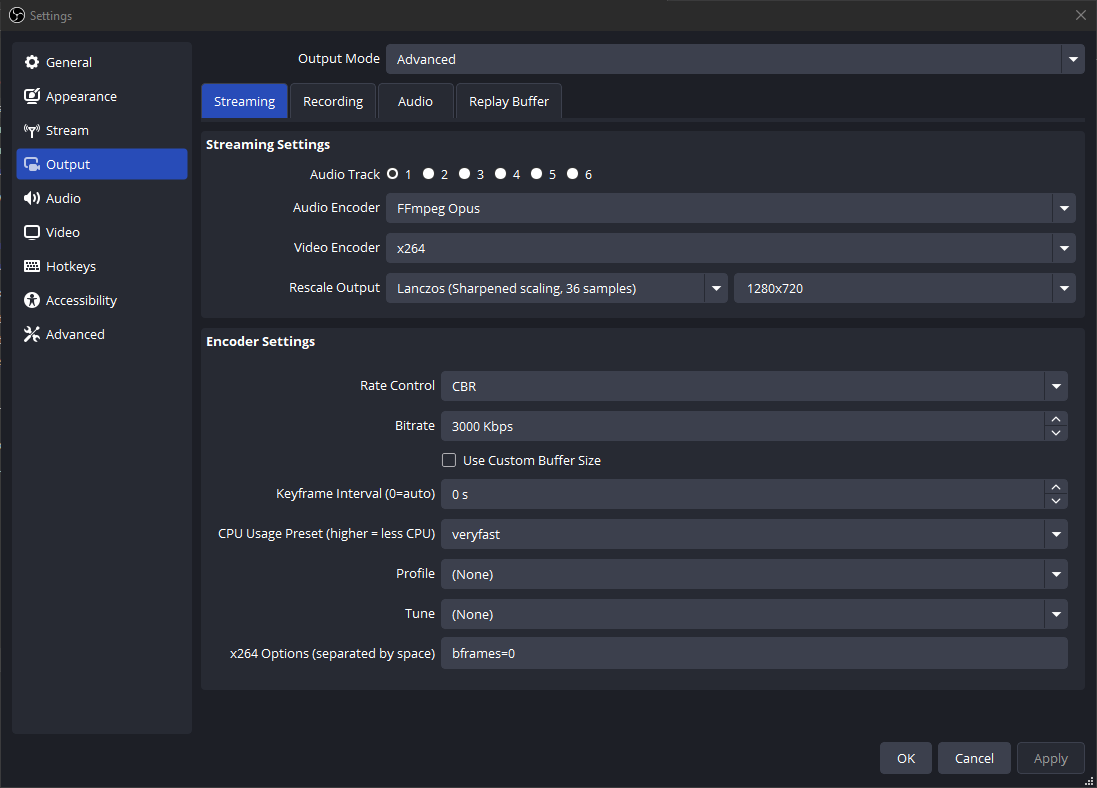
Please keep in mind that you can reduce the bitrate to 2000 Kbps (that's what I tend to use) as it is a very acceptable bitrate, and it will give you good quality while not consuming too much bandwidth. You can try to fine-tune this value to find the right balance for you.
You may also pick a slower CPU Usage Preset to obtain a better stream quality. The slower the preset is, the higher the quality you'll obtain at the cost of more CPU usage and more stream latency. The veryfast preset is a very good default, granting a low latency (less than 2 seconds for the viewer to see what you just did) while not using too much CPU.
Composing your MML document
Once you configured your streaming software, you'll be ready to start streaming, and people inside you're experience will be able to watch you live once you add an MML document with an m-video tag with the src attribute pointing to the URL you copied from the webRTCPlayback URL field on your Cloudflare Stream Live Input JSON object. Please see the example below:
IMPORTANT: Please notice that the https:// on your URL must be replaced by whep:// so the m-video MML tag can recognize the source of the video is coming from a WebRTC stream.
You're all set!
Just press Start Streaming in OBS, and have fun in your Live Event powered by MML! 🎉
